Introduction
ChecQR makes it easy to gather information in operational environments, efficiently and accurately. Results are shared in real time and can be seen easily by managers in our dashboard. Sometimes there is a need for the information to be presented in a prescribed way, i.e. in an existing form or format. This article explains how that can be done in ChecQR.
Common reasons for needing results in a prescribed format are:
- Continuity and limiting the amount of change at one time – it can be useful for ChecQR to produce output which is familiar to those receiving or processing the information
- Compatibility of information – sometimes ChecQR may be introduced in one place but the existing process carries on at another. In these cases it is useful if ChecQR can match the format of the old process to make the data consistent.
- Contractural or regulatory restrictions – sometimes information has to be submitted on a form designed outside your organisation
File Formats
ChecQR supports uploading of .xlsx (excel) files as custom forms. These can be created in Microsoft Excel, Google Docs and various other programs.
ChecQR can ‘fill out’ these forms with data from a Checklist. The result can be downloaded as a pdf file.
Creating your template
There are no special technical requirements to make a spreadsheet with ChecQR, but here are some tips:
- You can use formulae, graphs and conditional formatting in your spreadsheet so don’t be afraid to get creative!
- For advanced users – you can hide the cells where ChecQR puts the answer and then use that in a formula elsewhere, this is useful for turning a ‘yes/no’ answer into a tick in a relevant box
- If you want to place images in the spreadsheet you can merge cells to create big spaces for the photos. Photos from ChecQR are always square so to make best use of space create square gaps
- Leave cells A1and A2 empty if you are using photos as ChecQR uses them to work out how to scale the photo. You can make the rows and columns very small/narrow without causing problems
Once your template spreadsheet is ready you can upload it to ChecQR on the checklist settings page
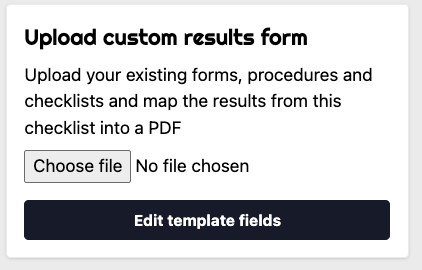
Telling ChecQR Where to put the data: Mapping fields
After you have uploaded your spreadsheet you will now see an additional option on each question in your checklist:
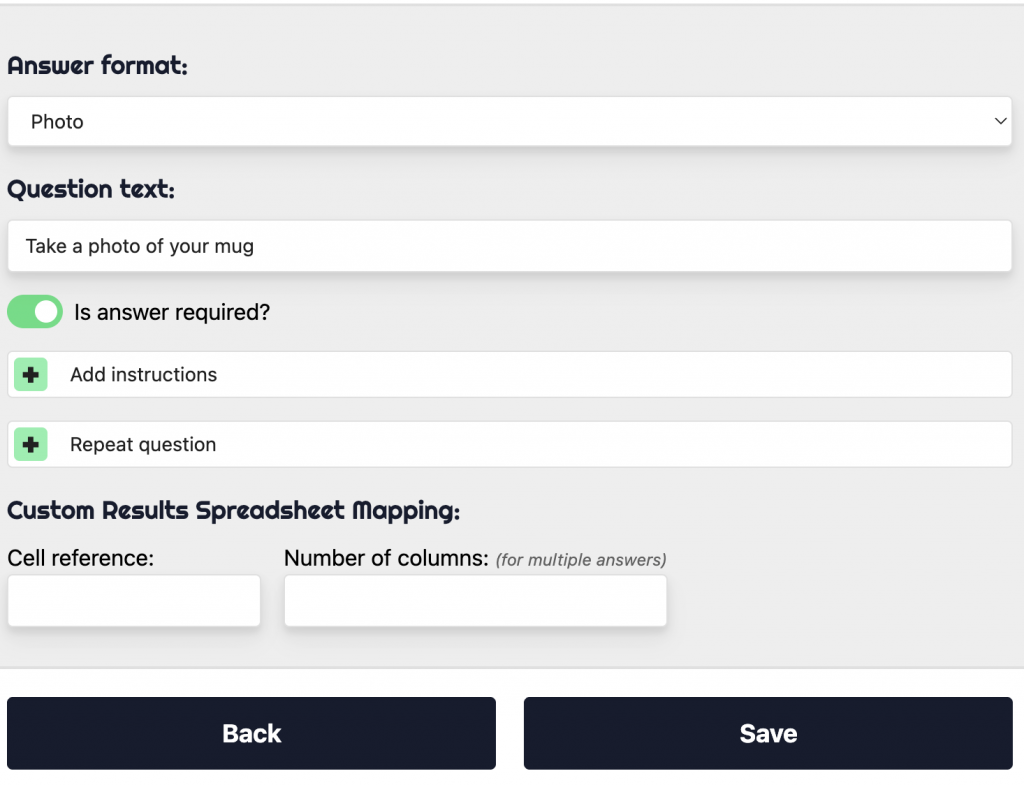
The ‘cell reference’ field is now shown on the ‘edit question’ page for each question and it allows you to tell ChecQR where you would like the answer placed on your spreadsheet. It uses the cell address, e.g. ‘B5’ for the 2nd column (B) and the 5th row.
If your question allows a repeated answer you can limit the number of columns in order to tabulate the data. E.g. if you have 10 answers and you limit the number of columns to 5, you will get 2 rows of 5 answers in your results spreadsheet.
You do not need to enter a value for ‘number of columns’ when you have not selected the ‘repeat question’ option for your question.
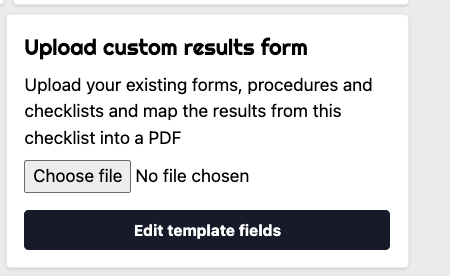
As well as the answers to questions you can add the following special fields through the ‘edit template fields’ option on the settings page:
- Checklist start time
- User name
- Sign off signature (image)